The one idea behind every tradition
Drop paint into plain water and it sinks or dissolves. Marbling works because the water is not plain. It is thickened — with seaweed extract, gum or starch — until it behaves less like water and more like a very loose jelly. Pigment placed on that surface has nowhere to go but sideways.
The second half of the trick is a surfactant. Traditional marblers use ox gall, a bile extract that lowers the surface tension of the colour it is mixed into. A drop with more gall in it spreads further and pushes the drop before it outward instead of mixing with it. That is why marbled colours sit next to each other as clean shapes with hard edges rather than blending into mud: each one is being held back by the surface tension of its neighbours.
Everything else — combs, rakes, needles, fans, breath — is just a way of moving that floating film around before the paper comes down.
What a marbling kit really contains
- The tray
- Shallow and rectangular, a little larger than the paper. Depth of liquid matters less than a flat, level surface; two or three centimetres is plenty.
- The size
- The thickened liquid. Carrageenan (Irish moss) is the standard in Western marbling; Turkish ebru uses kitre, gum tragacanth; methylcellulose and even dilute wallpaper paste work. It needs to rest for hours after mixing so the air leaves it.
- The colours
- Finely ground pigment in water, not thick paint. Acrylic diluted heavily, gouache, or earth pigments ground with a little binder. A colour that is too heavy sinks; too thin and it vanishes.
- Ox gall
- The surfactant. Added drop by drop to each colour, in increasing amounts across the sequence you plan to drop them, so each new colour can still open on top of the last.
- Alum
- Potassium alum, wiped onto the paper and dried before use. Without it the pattern lifts, looks perfect, and then washes straight off in the rinse. This is the single most common reason a first attempt fails.
- The tools
- A needle or awl for drawing single lines, a comb or rake — a batten with evenly spaced pins — for repeating them across the whole tray, and a brush for throwing drops. In the Turkish tradition the brush is horsehair bound to a rose branch, because the wood is soft enough to let the bundle flex.
The sequence
- Mordant the paper Sponge alum solution evenly over one side, hang it to dry, then press it flat. Mark the treated side; the pattern only takes there.
- Prepare and rest the size Mix, then leave it to stand until the bubbles have gone. Skim the surface with a strip of newspaper right before you work — a skin forms within minutes and it will repel colour.
- Lay the ground Throw or flick the first colour over the whole surface in fine drops. Then the next, and the next. Each one pushes the earlier drops into a web of narrow borders. Stop here and you have the base pattern — battal in Turkish, stone in English.
- Draw the pattern Pull a needle through in parallel passes, alternating direction, to get a back-and-forth pattern; follow with a comb for fine veining, or with S-curves for a shawl. One pass too many and the colours shear into grey.
- Lay the paper Hold two opposite edges, let the centre touch first, then roll the edges down so no air is trapped. A bubble leaves a bare white island.
- Lift and rinse Peel it off in one slow movement, draw it over the tray edge to strip the surplus size, and give it a gentle rinse. Dry flat, face up.
Three traditions, three different answers
Marbling is not one craft. Three traditions solved the same physics with different materials, and they do not look alike.
- Ebru
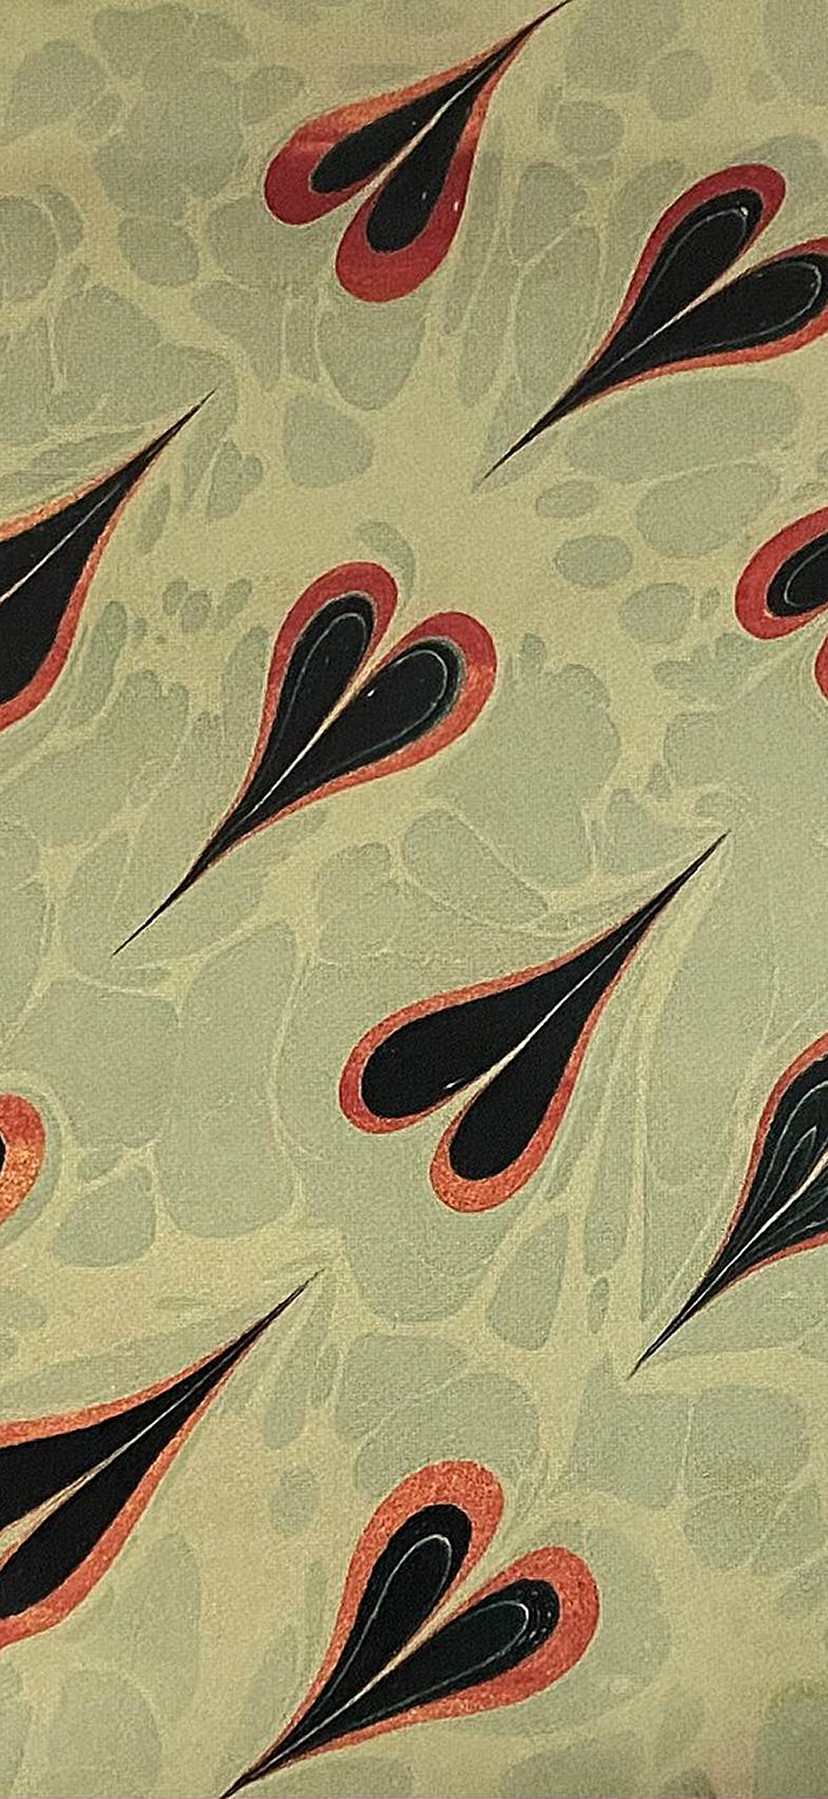
- Turkish and Persian. Opaque earth pigments on gum tragacanth, combed and drawn with needles, and — after the nineteenth century — resolved into recognisable flowers. Dense, saturated, graphic.
- Suminagashi
- Japanese, and older. Sumi ink on plain water, no thickened size and no combs, moved with breath and a fan into concentric rings. Monochrome, atmospheric, almost entirely about the interval between lines.
- Western marbling
- European bookbinding. Carrageenan size, fine rakes and combs, and a fixed vocabulary of named patterns — nonpareil, Gloster, peacock, Spanish wave — reproduced to order for edges and endpapers.
When it goes wrong
- The colour sinks
- Pigment too heavy, or the size too thin. Dilute the colour; thicken or rest the size.
- The colour will not spread
- Not enough gall, or a skin on the surface. Skim first, then add gall a drop at a time.
- A drop blows out across the whole tray
- Too much gall in that colour. It is now the strongest thing on the water and nothing else will open.
- The pattern washes off
- No alum, or the paper was laid on the untreated side.
- Everything turns grey
- Overworked. Each tool pass shears the film; three or four is a pattern, ten is sludge.
- White islands
- Air trapped under the paper. Touch the centre down first and roll outward.
The same craft without the tray
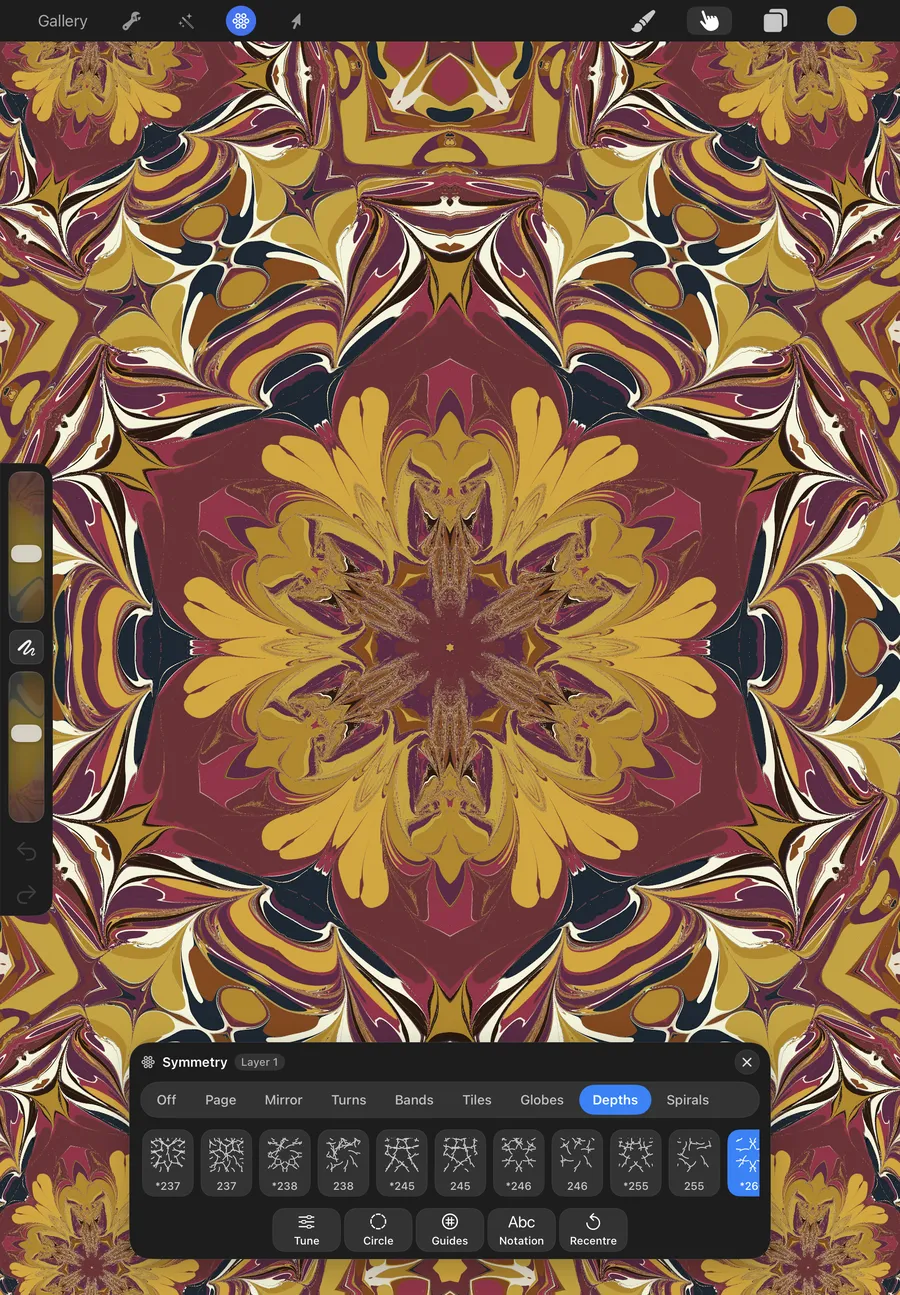
Everything above is physics, which means it can be simulated. Ebru for iPad and iPhone runs a real fluid simulation in Metal: drops spread by surface tension against the colours already on the surface, combs and needles shear the film the way a rake does, and the pattern you can make is the pattern the water would have made. What goes away is the alum, the eight-hour rest, the skimming and the cleanup — and the fact that a physical pull can only ever be done once.